1231D Designer Jig Dancer Blades (5pk)
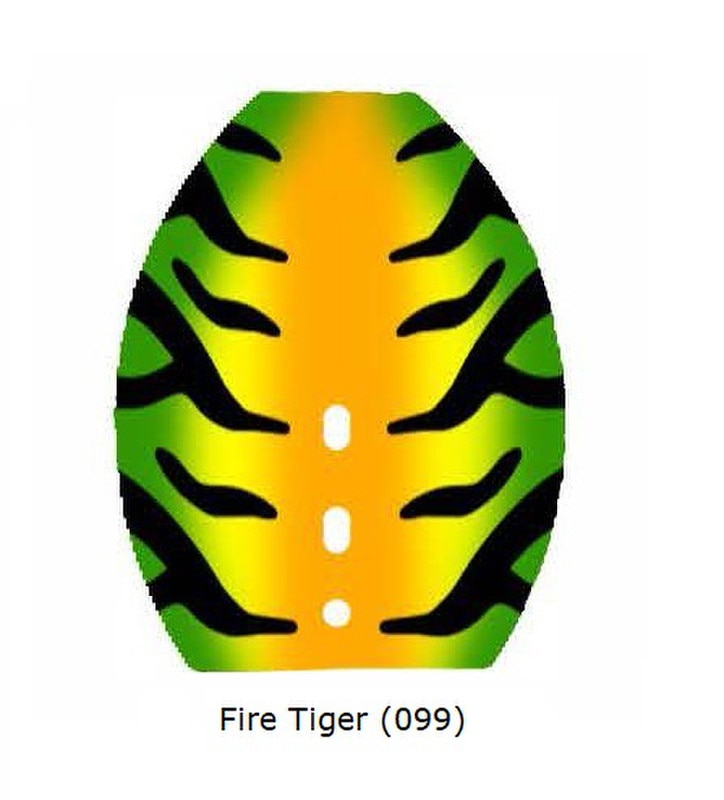
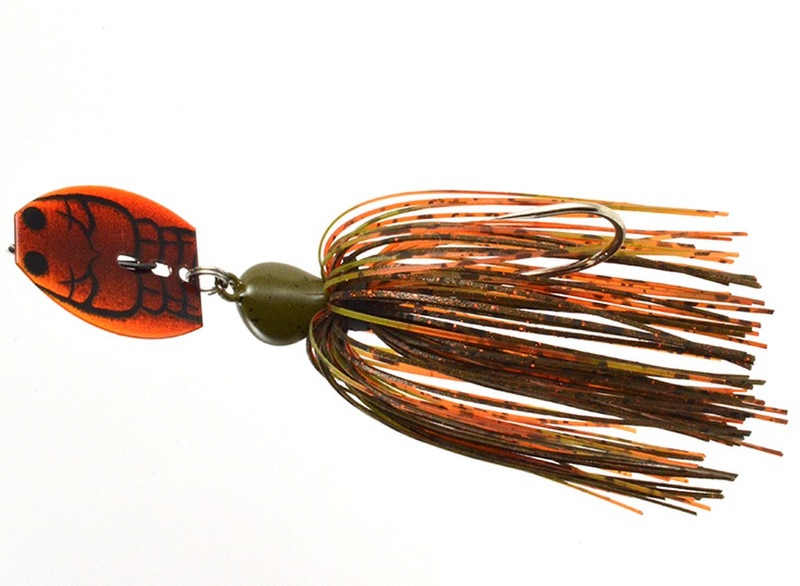
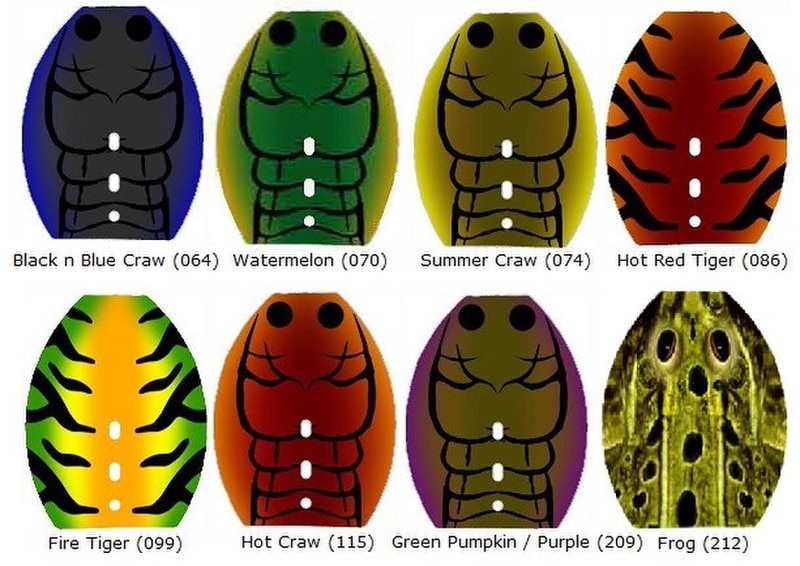
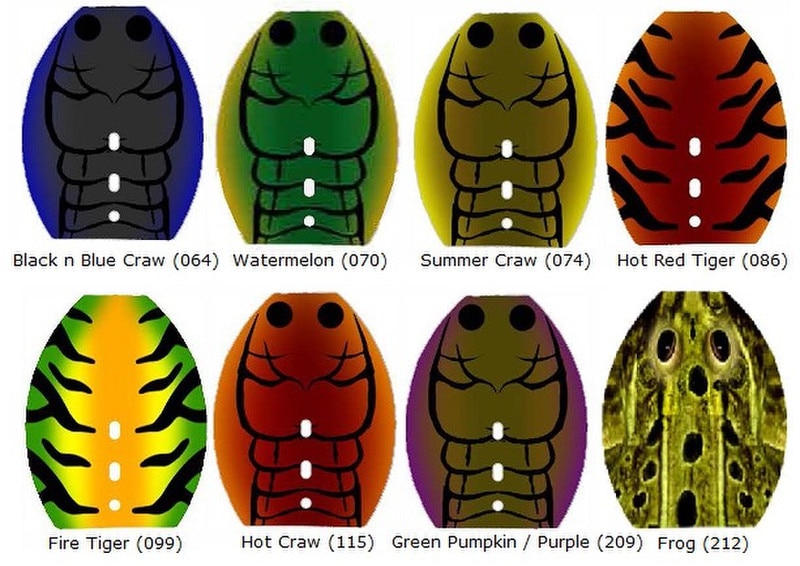
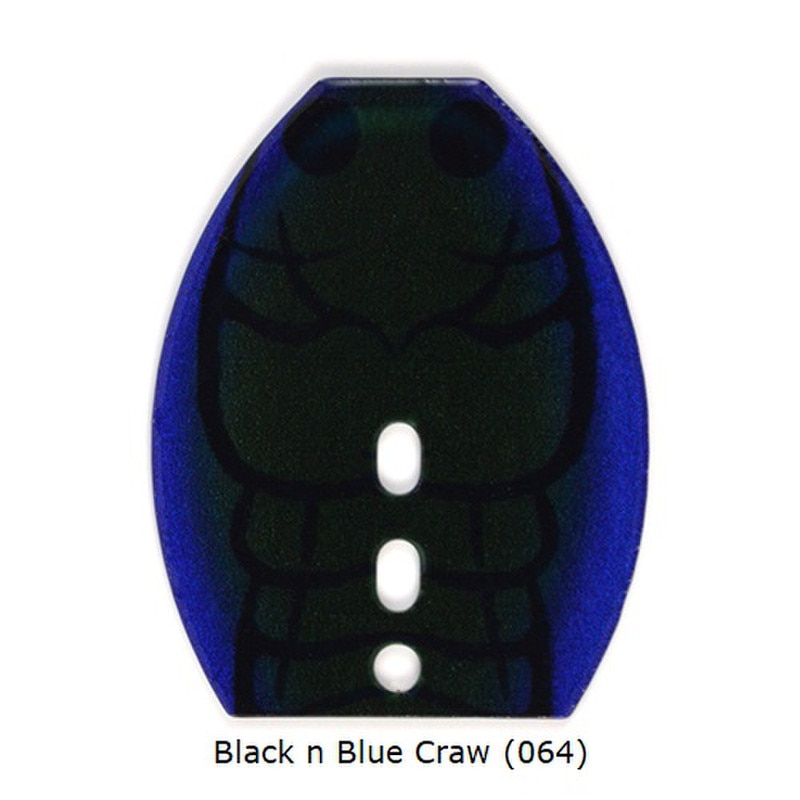
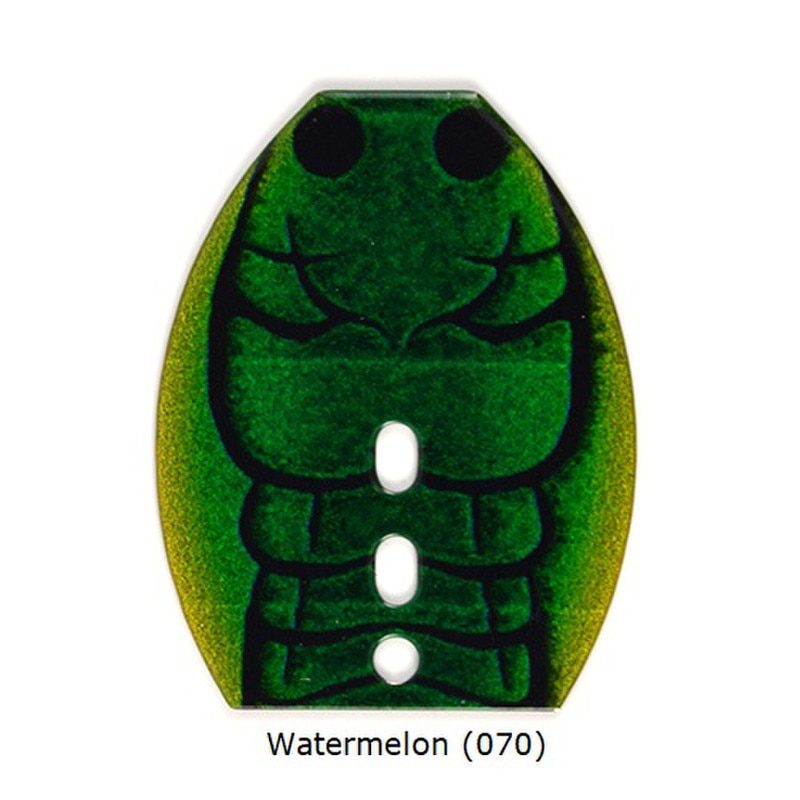
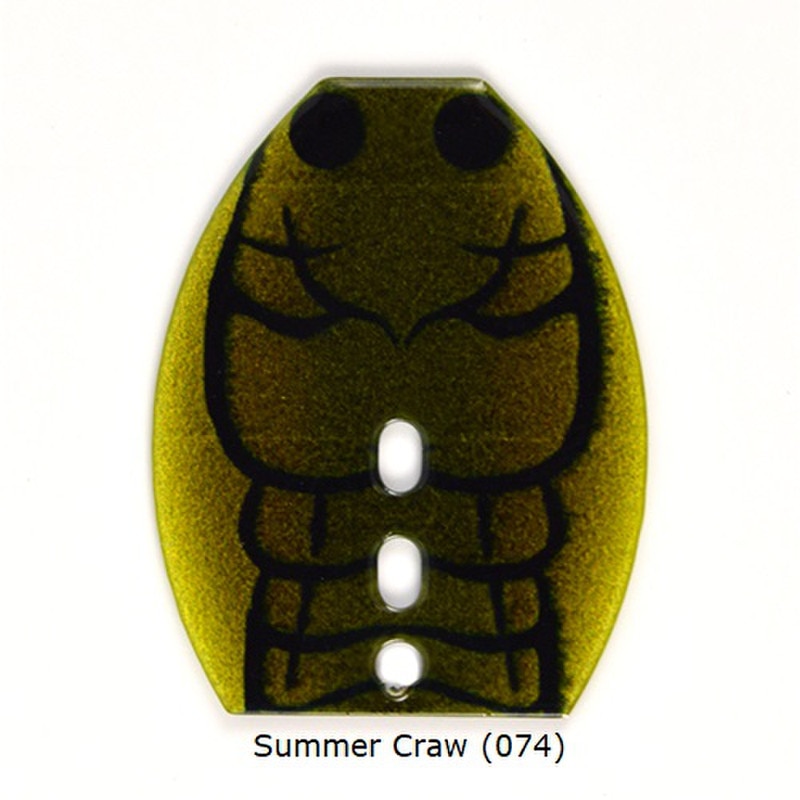
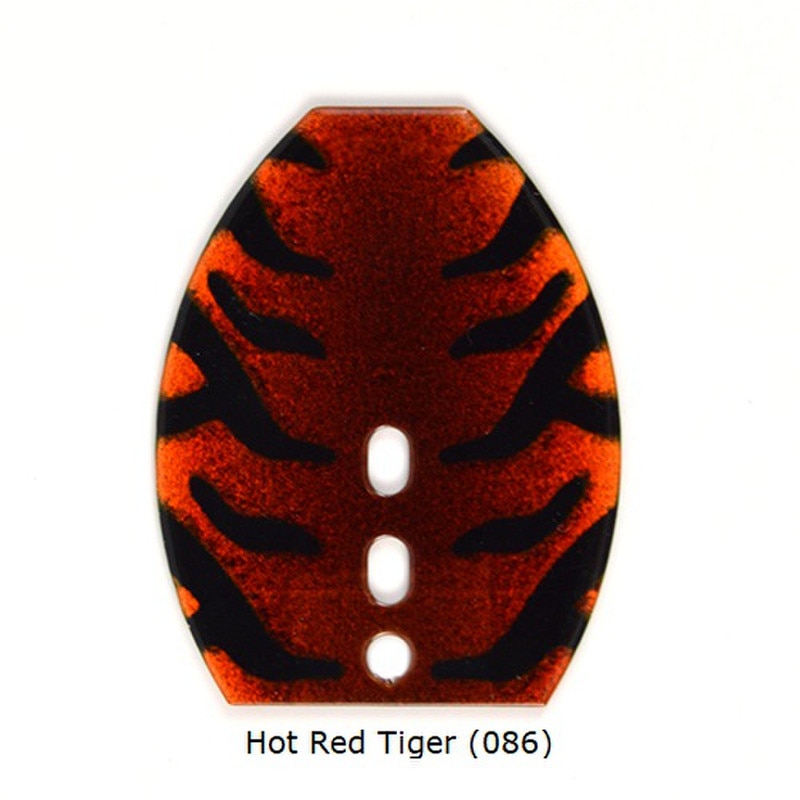
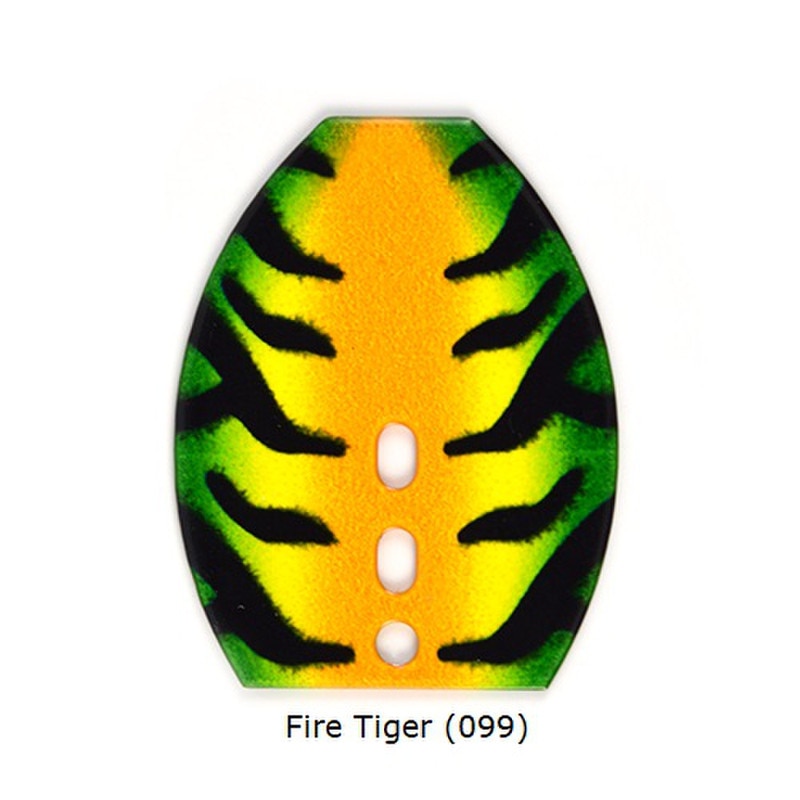
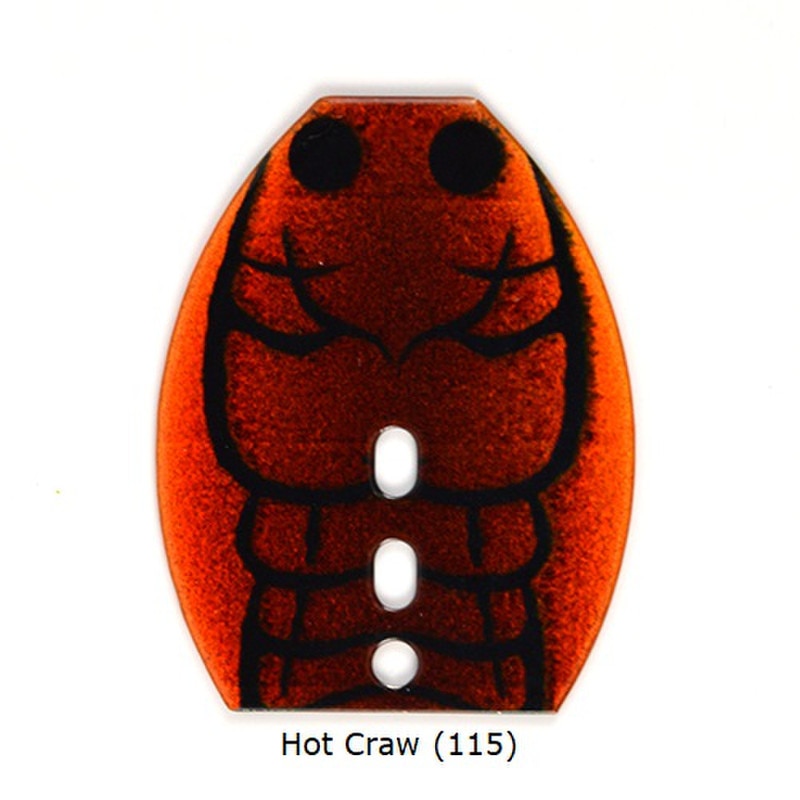
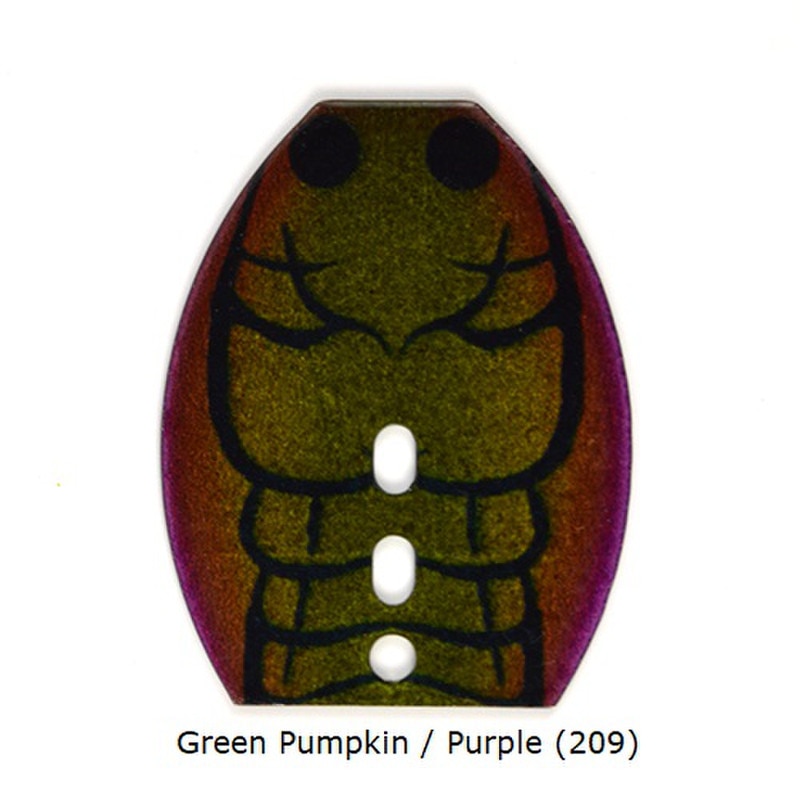
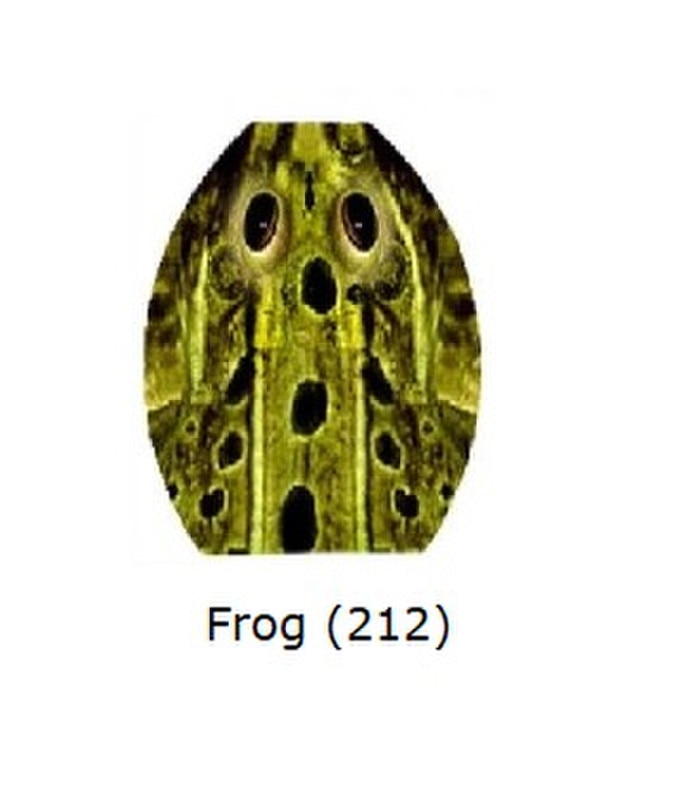
Check out our new line of “Designer” Jig Dancer Blade patterns. Set your bladed jigs apart with this awesome selection of hot color options. Premium quality with durable finish. Blades are painted with same pattern on both sides of blade.
Sold 5 blades per pack.

Sold 5 blades per pack.
Here is the step-by-step assembly tutorial for building a fish-catching bladed jig.
Required Tools & Materials
1. Required Tools
- Split Ring Pliers (Essential for opening the rings without bending them out of shape)
- Long Nose Pliers (For holding components and closing snaps)
2. Parts List
- Bladed Swim Jig Head: Choose your preferred weight (typically 3/8 oz or 1/2 oz) with a horizontal line tie/eyelet.
- Jig Dancer “Shaker” Vibrating Blade: These are the specialized vibrating blades that give the bait its signature thump and side-to-side wobble.
- Split Ring (Size 2 or 3): Connects the blade to the jig head.
- Duo-Lock Snap (Size 2 or 3): Attaches to the front of the blade where you tie your fishing line.
- Silicone Skirt: Hides the hook and flares out in the water to mimic baitfish.
- Soft Plastic Trailer (Optional): A swimbait, craw or fluke-style trailer to add bulk and action.
Step by Step Assembly Instructions
Step 1: Attach the Duo-Lock Snap to the Blade
- Open your Duo-Lock Snap using your long-nose pliers.
- Feed the snap through the top two holes of the Jig Dancer Shaker Blade from the back side.
- Snap it firmly shut. This loop is where you will eventually tie your fishing line when you go fishing.
Step 2: Thread the Split Ring onto the Blade
- Take your Split Ring Pliers and wedge the tooth into the Split Ring to separate the wire strands.
- Feed the open split ring through the single bottom hole of your shaker blade.
- Rotate the split ring with your pliers until it clears the hole completely and sits loosely in the blade.
Step 3: Connect the Blade to the Jig Head
- Open the split ring with your Split Ring pliers and slide the horizontal eyelet (line tie) of your jig head into the gap.
- Crucial Blade Alignment Check: Ensure that the front side of the blade is facing forward (convex side facing forward). This creates the side-to-side hunting action.
- Spin the split ring all the way through until it clicks shut, securely trapping both the blade and the jig head eyelet together.
Step 4: Install the Silicone Skirt
- Pro-Tip: Rub a tiny bit of chapstick or lip balm onto the collar of the jig head. This acts as a harmless lubricant so the skirt slides on smoothly without tearing.
- Grab your silicone skirt, keeping the strands even, and slide the rubber collar of the skirt over the hook point.
- Push it all the way up the hook shank until it seats firmly on the jig head's collar. Give the strands a gentle tug to ensure they flare out evenly around the hook.
Step 5: Add Your Trailer
Thread your favorite soft plastic trailer (like a paddle tail swimbait, a craw, or a fork-tail fluke) straight down the center of the hook shank, seating it flush against the skirt collar. Your custom bladed jig is now ready to fish!
5 Pack
Ratings & Reviews
3 reviews
Very Nice but Expensive
by Bassmaniac10
These are incredibly nice and look great on my bladed jigs. But cost is high. But you get what you pay for. I like the tiger patterns the best.
Whoa! Now we are talking!
by Fishin' Hard
Wow! I was happy when the plain painted blades became available a few months ago. Now I am ecstatic! These are really nice and my bladed jigs are almost too nice to put in the water. Best news is, I got over that quickly and these seem to catch fish even better. I guess it is something the fish haven't seen yet. Very nice indeed!
The Ultimate Jig Blades!
by RI Bass Guide
These are the best jig blades on the market. The colors are fantastic and allow me to match my blades with my skirts, without having to deal with stickers. And the paint is super durable, too. Great addition, LPO!