5121 Owner Spinnerbait Hooks (10pk)
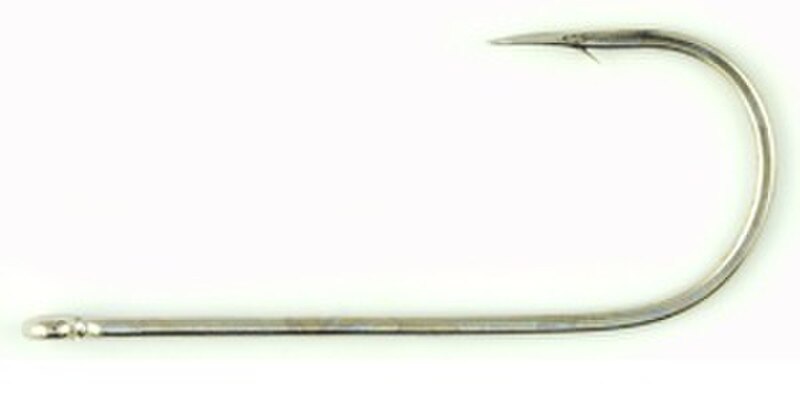
Make your premium spinnerbaits with this extra strong, cutting point beast! Bright nickel finish. Sold 10 per pack.
This tutorial covers the assembly of a popular Tandem Spinnerbait (featuring two blades). Be sure to watch the assembly video at the end.
Required Tools & Parts
You can source individual items or grab an all-in-one Spinnerbait Assembly Kit from the website:
- Tools: Long Nose (Needle Nose Pliers), Round Nose Pliers, and Split Ring Pliers.
- Spinnerbait Head & Frame: Choose your favorite Spinner Bait frame.
- Skirt: Bass Academy or premium silicone 5” skirt.
- Blades: One smaller Colorado blade (front) and one larger Willow leaf blade (rear).
- Hardware: 1 Clevis, 2-3 Metal Beads, 1 Spacer, and 1 Ball Bearing Swivel.
Step-by-Step Assembly Tutorial
Step 1: Install the Skirt
- Apply a small amount of lip gloss to the spinnerbait head skirt collar.
- Slide the Bass Academy silicone skirt over the hook point and push it firmly up onto the skirt collar.
Step 2: Add the Front (Colorado) Blade
- Slide your smaller Colorado blade onto the curved clevis bracket.
- Slide the clevis directly down onto the open metal arm of the wire frame. Ensure the cup (convex side) of the blade faces backward toward the hook.
- Drop 1 or 2 metal beads down the shaft right after the clevis to act as smooth bearings.
Step 3: Add the Spacer and Top Bead
- Slide a metal spinnerbait spacer onto the wire shaft. This ensures the two blades stay separated and do not interfere with rotation.
- Drop one final bead on top of the spacer.
Step 4: Form the Wire Loop
- Take your Round Nose Pliers and grip the very tip of the open upper wire frame.
- Bend the wire down toward the hook to form a tight, neat 3/4 circle loop. Leaving it slightly open allows you to slide the hardware on next.
Step 5: Attach the Rear (Willow) Blade
- Use your split ring pliers to attach a small split ring to the eyelet of your Willow leaf blade.
- Thread a premium ball bearing swivel onto that same split ring.
- Hang the open end of the swivel onto the open loop you made on the wire arm in Step 4.
- Use your long nose pliers to crimp the wire loop completely closed. Make sure there are no gaps so your blade assembly doesn't fly off while casting!
10 Pack