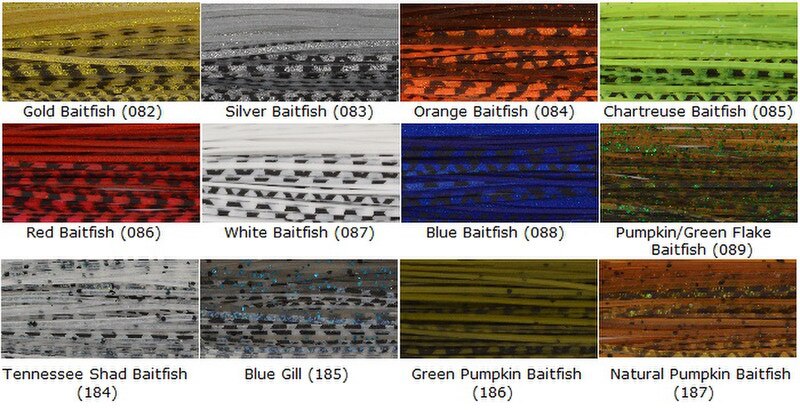
1663 Baitfish Skirts (5pk)
See Me In Action!
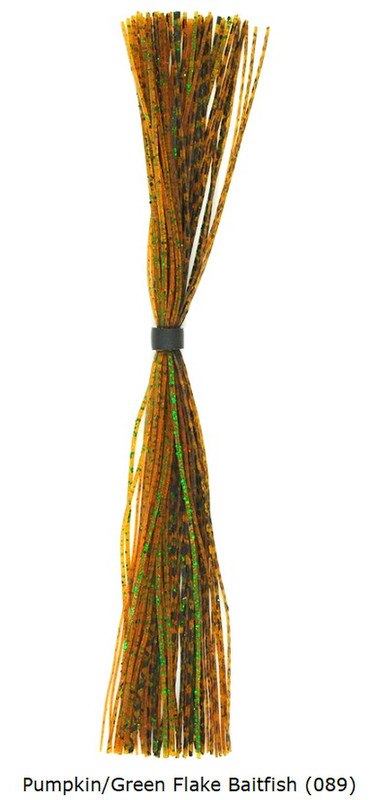
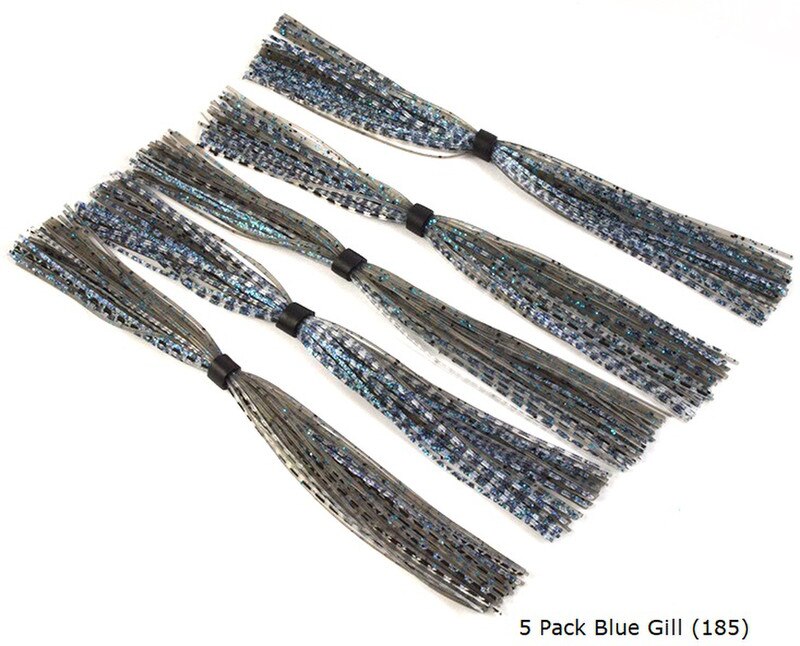
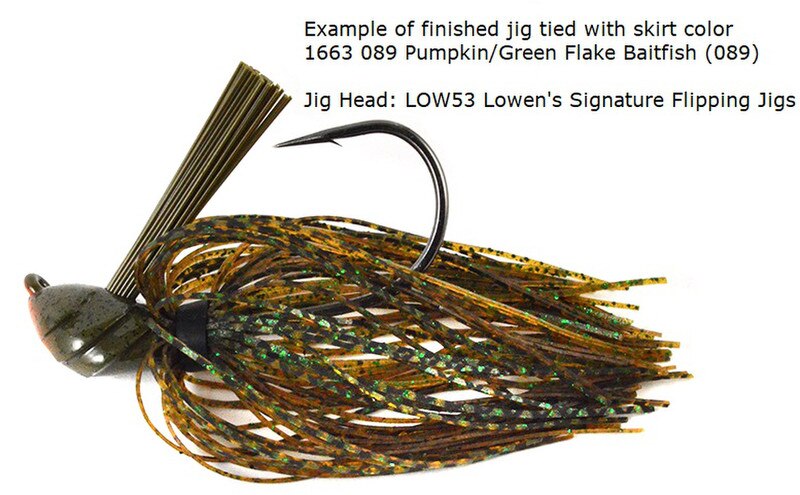
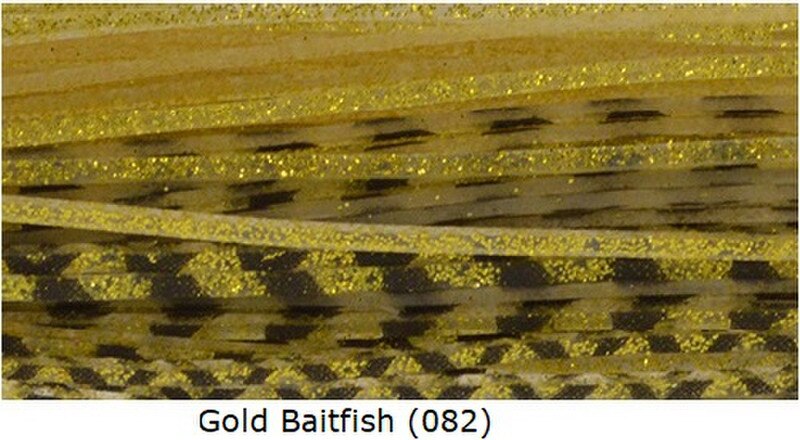
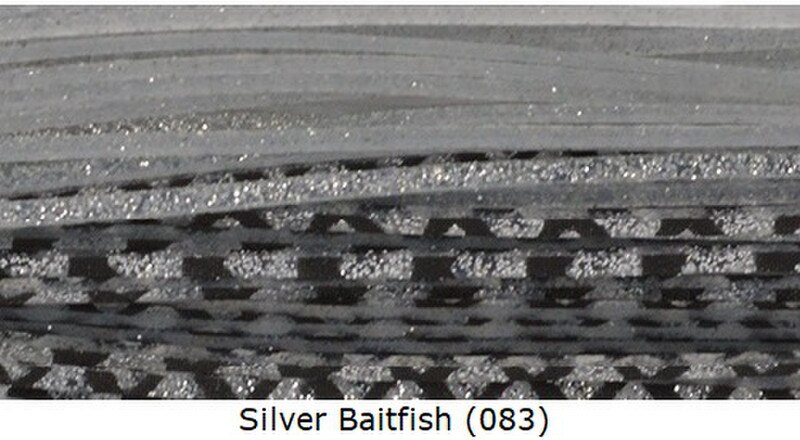
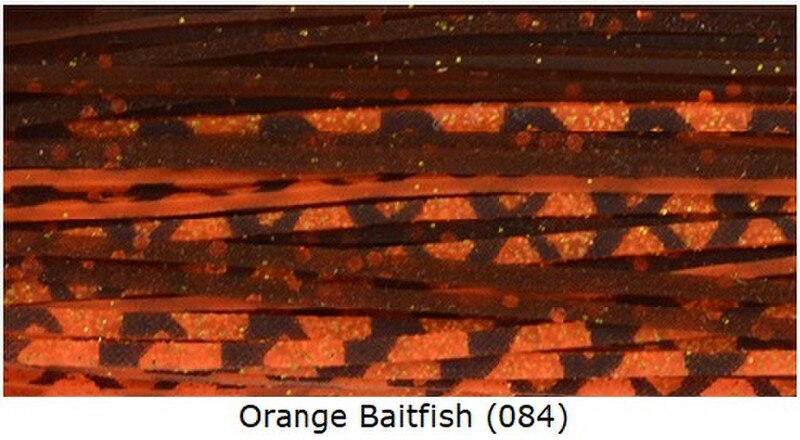
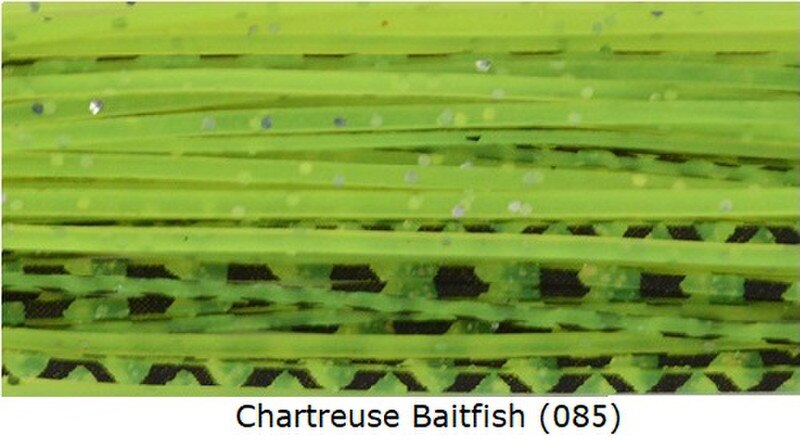
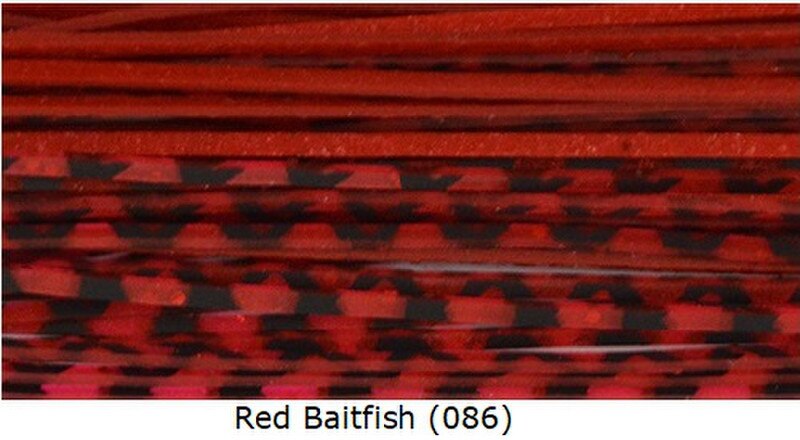
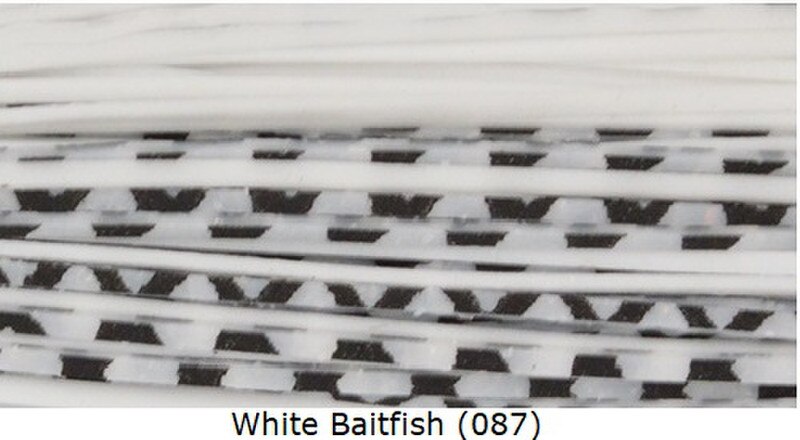
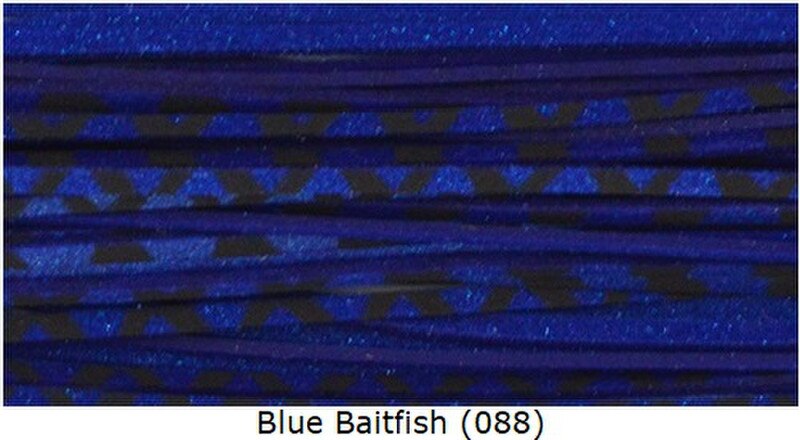
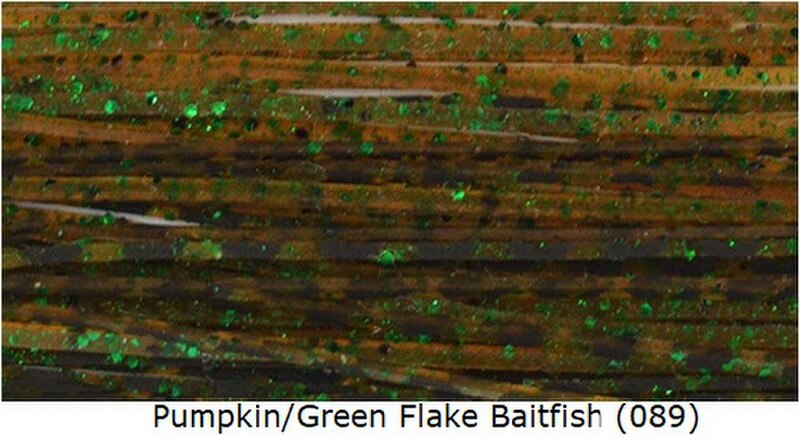


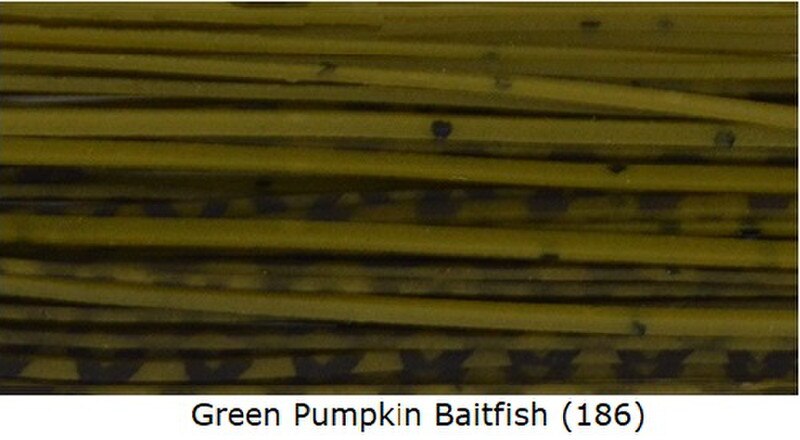
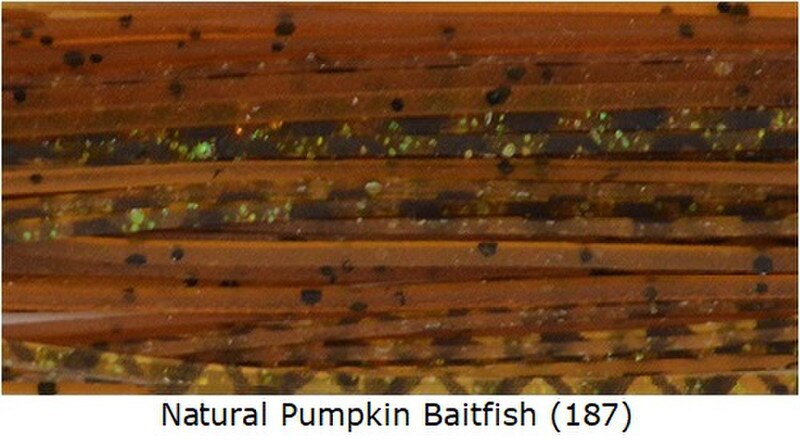

Adding a custom skirt to your fishing jig or spinnerbait is one of the easiest ways to customize your lure's profile, color pattern, and action in the water. Whether you are replacing a worn-out skirt or to just want to customize your favorite lures with custom color patterns, we’ll help you get that skirt properly installed on your lure for best action. This tutorial is geared toward the assembly of standard silicone or rubber skirts that are made with a rubber collar.
Required Tools & Materials
- Your Lure that Requires a Skirt: For example, a weedless jig head, spinnerbait, buzzbait or bladed jig.
- Pre-Tied Skirt: A ready-to-use, pre-assembled silicone or rubber skirt (with a pre-installed rubber collar).
- Sharp Scissors: For trimming or tailoring the length as needed.
- Fine-Tooth Comb: To groom your skirt for maximum effectiveness (optional but recommended).
Step 1: Prep and Inspect the Pre-Tied Skirt
Step 2: Thread the Lure Hook Through the Collar
Step 3: Slide the Skirt Up the Hook Shank
Step 4: Seat and Align the Skirt
Step 5: Final Fluff and Trim
- Lubricate the Lure Skirt Collar Lip: When sliding the skirt onto the lure - if the rubber skirt collar is tight and hard to push over the lip of the lure collar, use this trick to make this difficult task easy. Apply Lip Balm (Lip Gloss) or use a Scent Stick to lubricate the metal lip. This allows the rubber collar to easily slip up over the lip and into place without damaging the skirt.
- Revive Sticking Strands: Pre-packaged skirts often have strands that stick together due to heat or storage pressure. Strands sticking together can also happen after skirt is exposed to water (ie – after you use them fishing). Before mounting, groom your skirt with a fine-toothed comb for maximum action.
- Secure It Long-Term: If you fish heavy cover or catch a lot of aggressive fish, the skirt collar can slide down. Put a tiny drop of super glue on the lure's metal keeper right before pushing the collar over it. This locks it in place permanently.
- You Choose - Orient the "Short Side" Backwards or Forward for Different Look and Action: Use different approaches to adapt to different fishing conditions.
Silicone Skirts “Additional Information” or “Specifications”
Silicone Skirt Material Specifications:
Skirt Overall Length: 5 ¼”
Skirt length when doubled over: Approx. 2 ½”
Approx. Strand Count per Skirt: 44 strands (standard skirt) to 60 strands (full skirt)
Individual Strand Width: 1/36” (approximately .028”)
** Most Silicone Skirts are sold with 5 skirts per pack **
LurePartsOnline.com carries a wide range of silicone skirts. Silicone is an ideal material for fishing lure skirts as it is elastic, durable, and retains its color. Silicone will not “melt” in your tackle box (like the traditional rubber skirts did) and will not react to or bleed out when in contact with soft plastic lures. These skirts come assembled and ready to slide on your lure or jig. Some silicone material features round strands, but most silicone is cut from a sheet in flat, narrow strips.
Silicone skirts are made using a variety of different “collars”, which are the bands that hold the strands together in the middle of the skirt. Standard skirts generally use the simple bands. However, there are bands that feature attachments that allow user to add one or two rattles to the skirt after it is assembled. These are sometimes called “rattle collars” or “mickey mouse” collars due to their shape. Rattles must be bought separately and attached after skirt is assembled on jig or lure. More recent collars include “pro-tie” collars that enable skirt material to “flare out” more and also allows the silicone colors to be intentionally separated and specific patterns to be maintained in the skirt. These collars can be made of rubber or silicone and generally have a larger center hole allowing skirt to slide on an off your lure more easily, without tearing up the skirt in the process.
How to choose your skirt (although most skirts work on most lures):
1. Lure Type – make sure skirt is designed for your lure type (jig, spinnerbait, buzzbait etc)
2. Collar Type – do you want to add rattles? Do you want extra flare? Do you want to change out skirts often?
3. Skirt Color – choose a color that matches your jig or spinnerbait head. Choose a color that matches the type of forage your target fish are eating
4. Skirt Fullness – some people like full, “bushy” skirts and some like them as “thin” as possible. Full skirts can be thinned out, but thin skirts can’t be added to very easily. Sometimes full skirts interfere with your plastic trailer’s action.
Ratings & Reviews
1 review
Good for jigs
by Fishin' Hard
If you like flipping jigs, then you will like these skirts. These pretty much cover all the good colors I use. The baitfish pattern makes the skirt just a little more natural looking. Caught my biggest bass ever on an old arky jig with one of these baitfish skirts on it.